


My little girl has been very happy recently playing with another little girl who really gets how she likes to play. They can play for hours only surfacing occasionally when they need to eat. It has been wonderful but now her friend has moved to Darwin- the other side of the country with very different weather. It is winter here now and Philly just received a letter from her friend telling how it is so hot she doesn't have to wear shoes.
Before she left I decided to try some more scallops with a difference. I think it worked quite well. She put it on so I could take photo's but as they were taken in Canberra the dress had to be worn with skivy and trousers :-)...

Here's the tutorial if your interested.
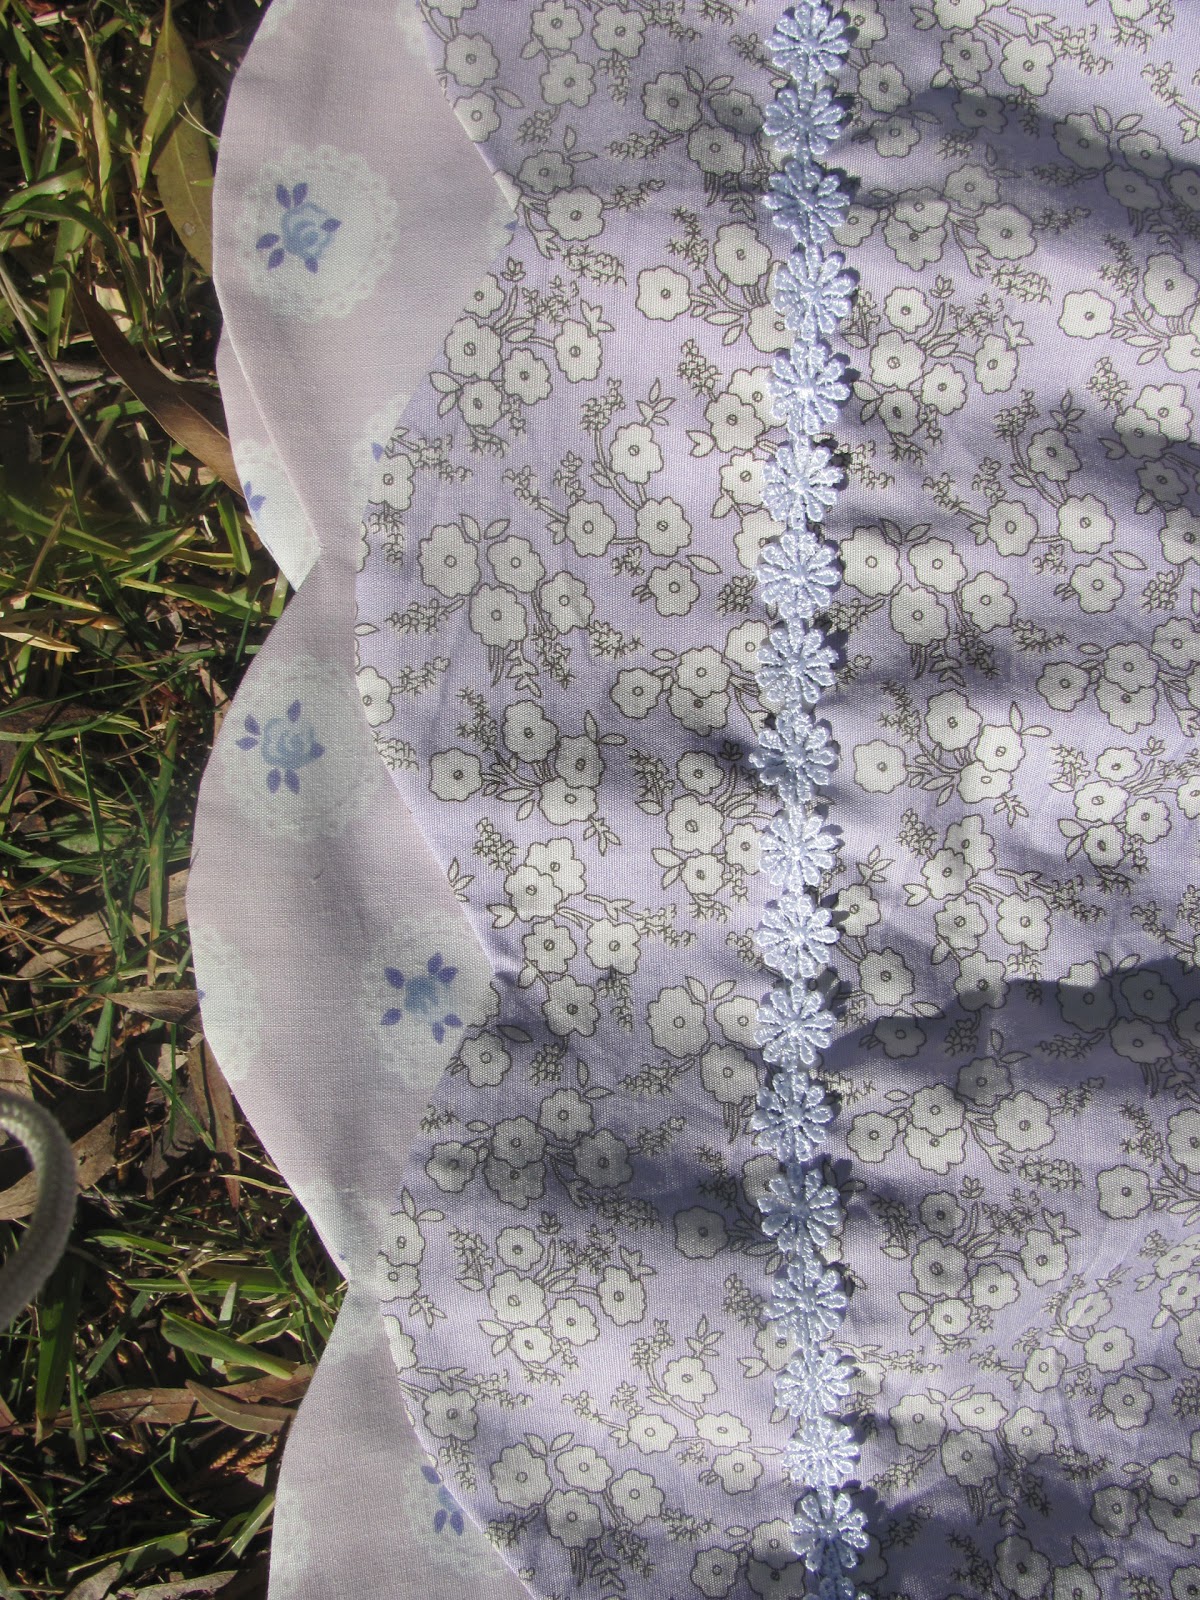
Step 1: Choose two complimentary fabrics.
Cut one 17 3/4 inches by 18 inches.
Off the second:
Cut 1 strip 17 3/4 inches by 7 1/2 inches.
Cut 1 strip 17 3/4 inches by 5 inches.
Of the first:

Step 2: Fold all strips in half right sides together and sew a 1/2 inch seam and finish.


 Step 6: Measure 4 inches down from the top of the medium fabric and mark with pen. Sew around this line. Iron fabric down so that the raw edge is below the scallop.
 Step 7: Finish the upper edge of the final strip. Then repeat steps 3, 4 and 5. You can choose to either line up the scallops of place them in the gaps.
 Step 8: Finish hem. You can sew on the upper row of sewing above the first row of scallops to attatch the finished edge of the second row of scallops. I like to cover it and make it look all pretty so I add decoration at the same time. You could use ribbon or ric rac or as I did daisys. Just place your embellishments on the outside over the line of sewing and sew in place.
Step 9: At the top of the dress fold over 1/4 inch and 1/4 inch again and sew in place for a neatly finished upper edge.
Step 10: Here comes the shirring. Start at the top spiral down till you get to where your child's tummy button is (It looks a little funny if you go much lower.) If you need them you will find note on shirring at the bottom of this post.
Step 11: Add straps, I used ribbon but needed to fit it on the child to get the right length. I also scattered a few daisies around the place to make it a little more little girly.

Notes on Shirring:
1. Hand wind the bobbin with
the elastic thread and don't stretch it.
2. Use regular thread for your top thread.
3. Set your stitch length to the longest stitch length you have.
2. Use regular thread for your top thread.
3. Set your stitch length to the longest stitch length you have.
CUTE DRESS
ReplyDeleteLove the scalloped edge and the shirring!!! A gorgeous little dress.
ReplyDeleteVery cute dress. The scalloped edge is just darling. If you get a chance, I would love for you to hop on over to SewSet and upload a photo of this dress into the pattern / tutorial directory. This way other seamstresses can find your fabulous tutorial in the future!
ReplyDeleteThanks so much, and have a great night!
- Jess, SewSet.com
very very beautiful.I am following your blog. I would be happy to see you following mine.
ReplyDeletehow lovely to open your page and see the two girls! we think of you often. lookig forward to more posts!
ReplyDelete