

Okay so I left you with a promise to show you what I made for my nephews 1st birthday. Well ta dah, I have even managed to make it up in a tutorial. I thought it would be ages till I got around to it but my sick little girl has fallen asleep on me and the computer was in reach soo...
Ages ago I came across blackboard fabric and had to have some. It has been sitting patiently in my stash waiting for me to be inspired in some way, I just couldn't think of what to do with it then brainstorm... This is my take with you blackboard, easy entertainment you can pack in your bag. The requirements are few and I made it in just over 1 hour and that included figuring out sizes and making mistakes :-).
You will need:
Backing fabric
Ribbon (I used ric rac but it is a little tricks for little hands to untie.)
Chalk and chalkboard duster -I got a cheap set from the local supermarket.


Next we need to cut out the chalk board and backing fabric. Cut one of each 13 inches across and 13 1/4 inches high. (you can iron blackboard fabric, just cover it with some cotton and don't turn the heat all the way up).
Place both together right side out and sew a holding seam at 1/4 of an inch around the outside of the rectangle.


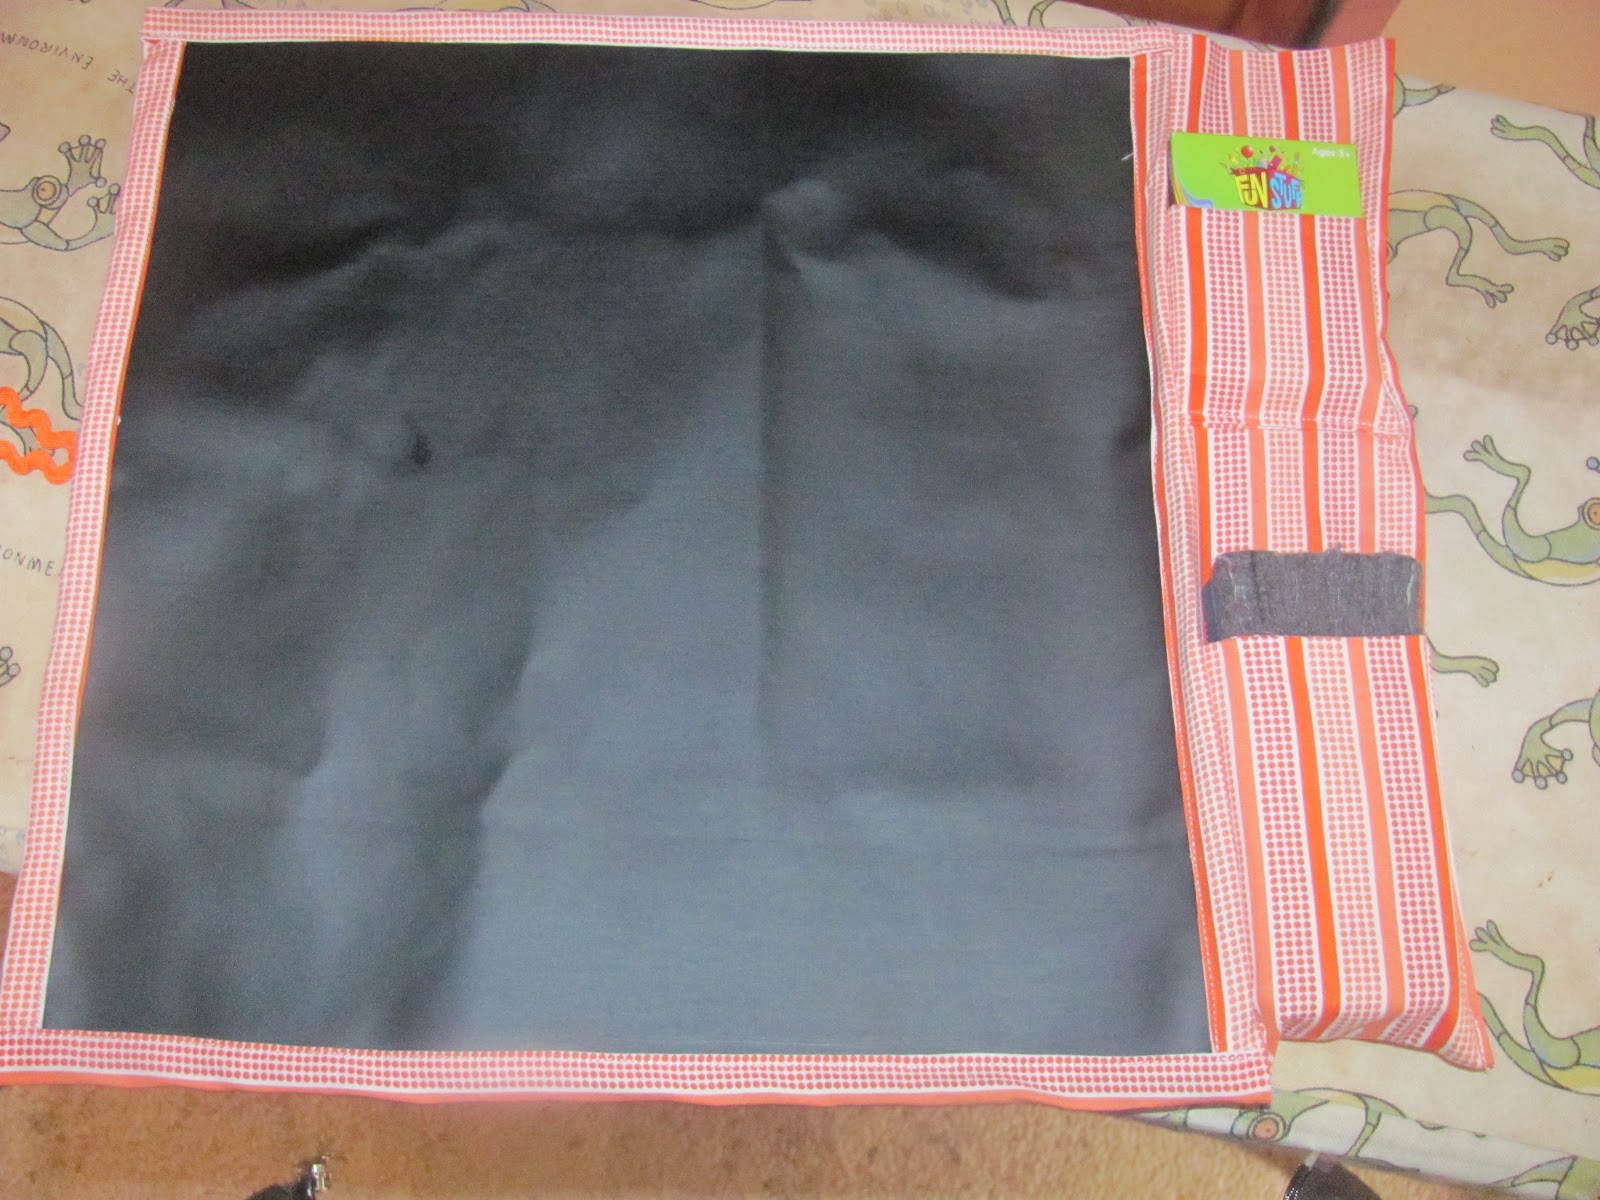
Fold over on other side so it covers the stitching and sew in place. Trim the corners to sit flush with the blackboard.
For the opposite side cut 31 inches of ribbon, fold in half and place in middle. Repeat bias process.

Now there are only two lots of bias left. Repeat the above process but before the final seam fold the edges in so the corners sit square.


(Maybe I should also buy a new ironing board cover...)
Hopefully someone out there in the blogosphere is inspired to try one too.
What a FABULOUS idea!!! Everything that is needed is self contained and portable.
ReplyDeleteThanks Pam
ReplyDeleteThis is perfect for me to make for the children's hospital. Thank you. Come over and visit me. Am now following you!
ReplyDeleteDona
http://sewingmilesofsmiles.blogspot.com